Pages

Showing posts with label Furniture. Show all posts

Wednesday, July 4, 2012

Our Bedroom (& Headboard Reveal)

Remember my Duvet Dilemma back in January? This is my follow up post.

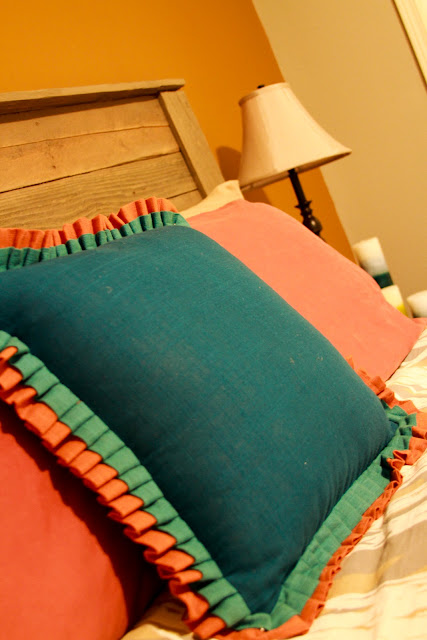
Thanks to the help of furniture, a new pillow, candles...etc. we have finally infused some color into our bedroom. It's not complete but when I found this pillow at World Market (where else?!) I knew I was onto something. I plan to recover several more pillows to create a little color explosion in the center of our bed. Until I decide what kind of company it would most benefit from, this cute pillow is going to sit solo. I considered waiting to post pictures of our room until after all the pillows and whatever else strikes my fancy happened to be in place, but that would have meant waiting to reveal the finished headboard. And that would be silly. So here goes---->

His.
 Hers.
Armoire painted in one of my favorite paint colors ever...
Where our little buddy sleeps...and where our sweet babe will sleep come November/December.
Antique cheese graters gone greater.
I haven't yet decided what to put in this cool bin, but I did decide that I needed it, and that it's cool.
One more shot of our new headboard.
We hope you like it but even if you don't, we know we do. :)

I snapped these pictures late at night and as you can see when comparing the first two photos, the colors are far from true. Lame. If you want to see our room at its finest you'll just have to come see us. If you'd rather not see half of Brian's wardrobe on the floor (on his side of the bed) warn him prior to your arrival. Otherwise, come anytime! We do love visitors. :)
Pin It!

Tuesday, July 3, 2012

Dilapidation turned Dashing

It all began with what some might consider a pile of junk, or firewood. It consisted of old fence boards, a couple of free-alongside-the-road pallets, as well as some burly, new pallets donated to the cause by Circle K Ranch.
But it wasn't junk at all, it was our soon to be headboard.
We began by taking each pallet and fence panel apart and removing all the nails.
 Although our bed is a queen, I looked up the measurements of a king size bed, because I wanted the size of the headboard to exceed the size of the bed. I spaced the legs the correct distance from one another, prior to working on the layout, so that I knew how much space I needed to cover.
 I pieced the boards together in a way that I found visually pleasing,
alternating rows of older and new boards.
 Each board was screwed into place from the backside.
 Brian trimmed the extra off each end.
 We weren't worried about making a perfectly clean line because the next step was adding trim to each side and the top to create a finished look and to bring all the boards together. 
 We added our trim and made sure that the boards going on top were bigger, creating an overhang.
Once the headboard was assembled I broke out my trusty Ryobi corner cat sander to round any rough edges and remove any old junk from the front sides of the boards.

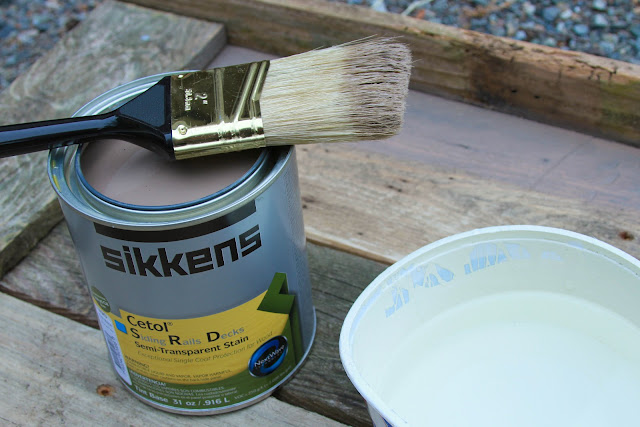
I wanted the completed project to have a grey hue about it. I knew that applying a grey wash would tie all the mismatched boards together without making them too uniform.


I had never white washed anything (or grey washed, for that matter) 
but I decided to go out on a limb and try it anyway.
And I'm so glad I did. I turned out exactly how I saw it in my head.
Stay tuned for our bedroom reveal starring our new headboard. :)

Pin It!